




How to Clean PCB Board After Soldering
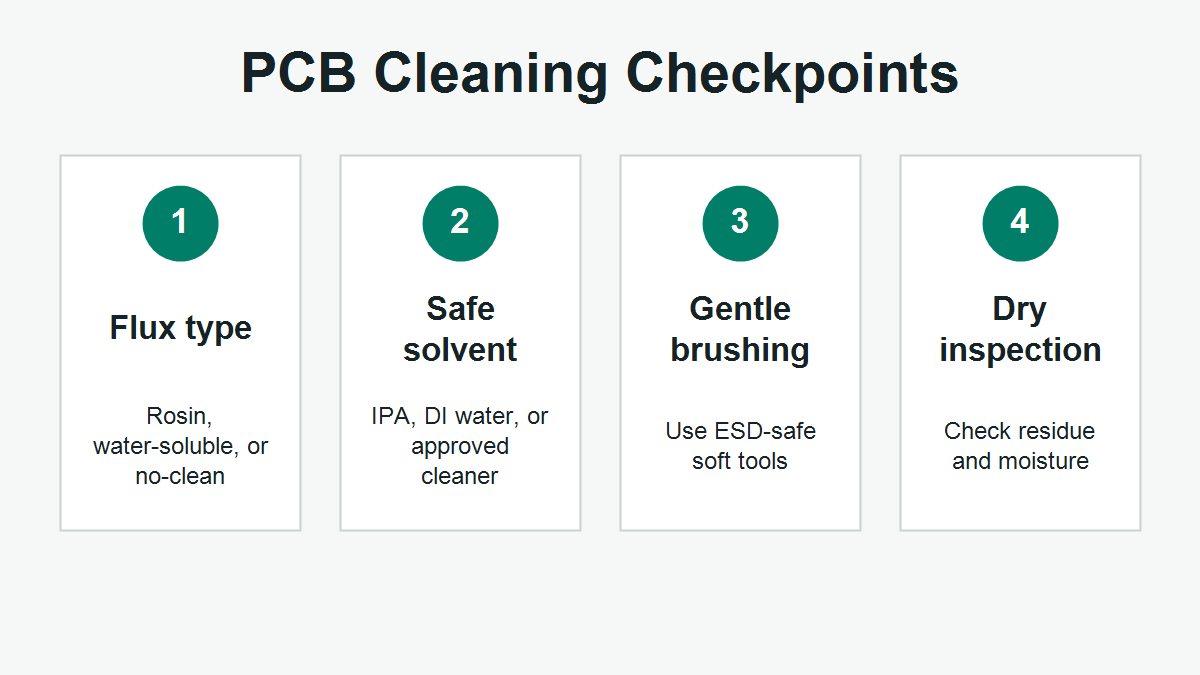
To clean a PCB board after soldering, first identify the flux type, then use a compatible cleaner such as 99% isopropyl alcohol for rosin residue or deionized water for water-soluble flux. The board should be powered off, brushed gently with ESD-safe tools, rinsed only when the process allows it, and dried completely before electrical testing.
What Should You Check Before Cleaning a PCB Board?
Before cleaning, confirm the solder flux, component sensitivity, and whether the board is only a prototype or a production assembly. A bare or simple prototype can tolerate a different cleaning approach than a dense PCBA with connectors, switches, transformers, labels, displays, or moisture-sensitive parts.
For rework after PCB soldering, the safest first step is visual inspection under good light. Look for amber rosin residue, white water-soluble residue, sticky no-clean residue, solder balls, lifted pads, and trapped contamination around fine-pitch pins.
Which Cleaner Should You Use for Each Flux Type?
The cleaner should match the residue, not the habit of the technician. Rosin flux normally responds well to high-purity IPA or an electronics-grade flux remover. Water-soluble flux needs a controlled water-based process and full drying. No-clean flux may still need removal when the board will run in high humidity, high voltage, precision analog, RF, automotive, medical, or industrial control environments.
| Residue Type | Common Cleaner | Best Use | Risk to Watch |
| Rosin flux | 99% IPA or flux remover | Hand soldering and rework | Residue can smear if not wiped away |
| Water-soluble flux | Deionized water process | Production soldering with washable flux | Moisture trapped under parts |
| No-clean flux | Mild electronics cleaner | Low-residue assembly | Residue can affect high-reliability boards |
| Unknown residue | Small area test first | Repair or inherited boards | Solvent may attack plastics or labels |
Step-by-Step PCB Cleaning Process After Soldering
A reliable cleaning process removes dissolved residue instead of spreading it around the board. Work slowly, use fresh wipes, and avoid soaking components that are not designed for liquid exposure.
- Disconnect all power and remove batteries, cables, and detachable modules.
- Put the board on an ESD-safe mat and inspect the soldered area.
- Apply a small amount of cleaner to the residue, not across the full board by default.
- Brush in one direction with a soft ESD-safe brush to loosen flux.
- Absorb dissolved residue with lint-free wipes or foam swabs.
- Repeat only where residue remains around pins, pads, and vias.
- Dry with clean air and allow enough time before powered testing.
What Mistakes Damage PCB Boards During Cleaning?
Most cleaning damage comes from using the wrong solvent, too much force, or incomplete drying. Acetone can damage solder mask, plastics, labels, and some connector materials. Aggressive brushing can lift weak pads after rework. Water left under components can cause corrosion or leakage paths later.
If the board is part of a larger PCB assembly process, cleaning should be linked with inspection and test. Do not clean first and test later without checking whether residue has moved under packages or into connector bodies.
How Do You Inspect a PCB After Cleaning?
Inspection should confirm both cleanliness and electrical readiness. Use magnification to check fine-pitch IC leads, through-hole joints, connector edges, and areas around reworked pads. Sticky shine, white haze, or brown residue means the board may need another controlled cleaning pass.
- Check for solder balls near IC pins and connector pads.
- Look for residue trapped under tall components.
- Confirm no lint or brush fiber remains on the board.
- Measure continuity only after the board is fully dry.
- Use functional test or ICT when the board is part of production quality control.
When Should Cleaning Be Done by a PCB Assembly Supplier?
Supplier-level cleaning is better when the board has fine-pitch ICs, BGA packages, high-voltage spacing, RF circuits, conformal coating, or reliability requirements. A supplier can combine cleaning with inspection, drying control, and process documentation instead of treating it as a bench repair step.
For production builds, discuss cleaning expectations before ordering turnkey PCB assembly. Ask what flux is used, whether the board is washed, how drying is verified, and which inspection method is applied after cleaning.
FAQ
Can I clean a PCB with 70% isopropyl alcohol?
It is not the best choice. The water content in 70% IPA can slow drying and leave moisture under components. Use 99% IPA or an electronics-grade cleaner when the component materials allow it.
Should no-clean flux be removed?
Sometimes yes. No-clean means low residue under normal conditions, not zero risk. Remove it when the board needs coating, operates in humidity, carries high voltage, or supports precision signals.
Can I wash every PCB board with water?
No. Water cleaning is suitable only when the flux, components, labels, and drying process support it. Deionized water is used in controlled processes, not as a casual rinse for every assembly.
How long should a PCB dry after cleaning?
Drying time depends on component density and cleaner type. The important rule is simple: do not power the board until hidden moisture has had enough time to leave connectors, package gaps, and through-hole areas.
Final Cleaning Advice
Cleaning a PCB board after soldering is not only cosmetic. It prevents residue-related leakage, corrosion, coating failure, and unstable testing. If you are sourcing reliable PCB/PCBA manufacturing, including OEM, ODM, prototyping, mass production, or custom engineering solutions, reach out to our engineering team for technical support and a quote at [email protected].
Related PCB Guides
If you are using this guide to prepare a PCB project, these related PCBTRY guides can help you connect the next step instead of reading each topic in isolation.



0 Comments